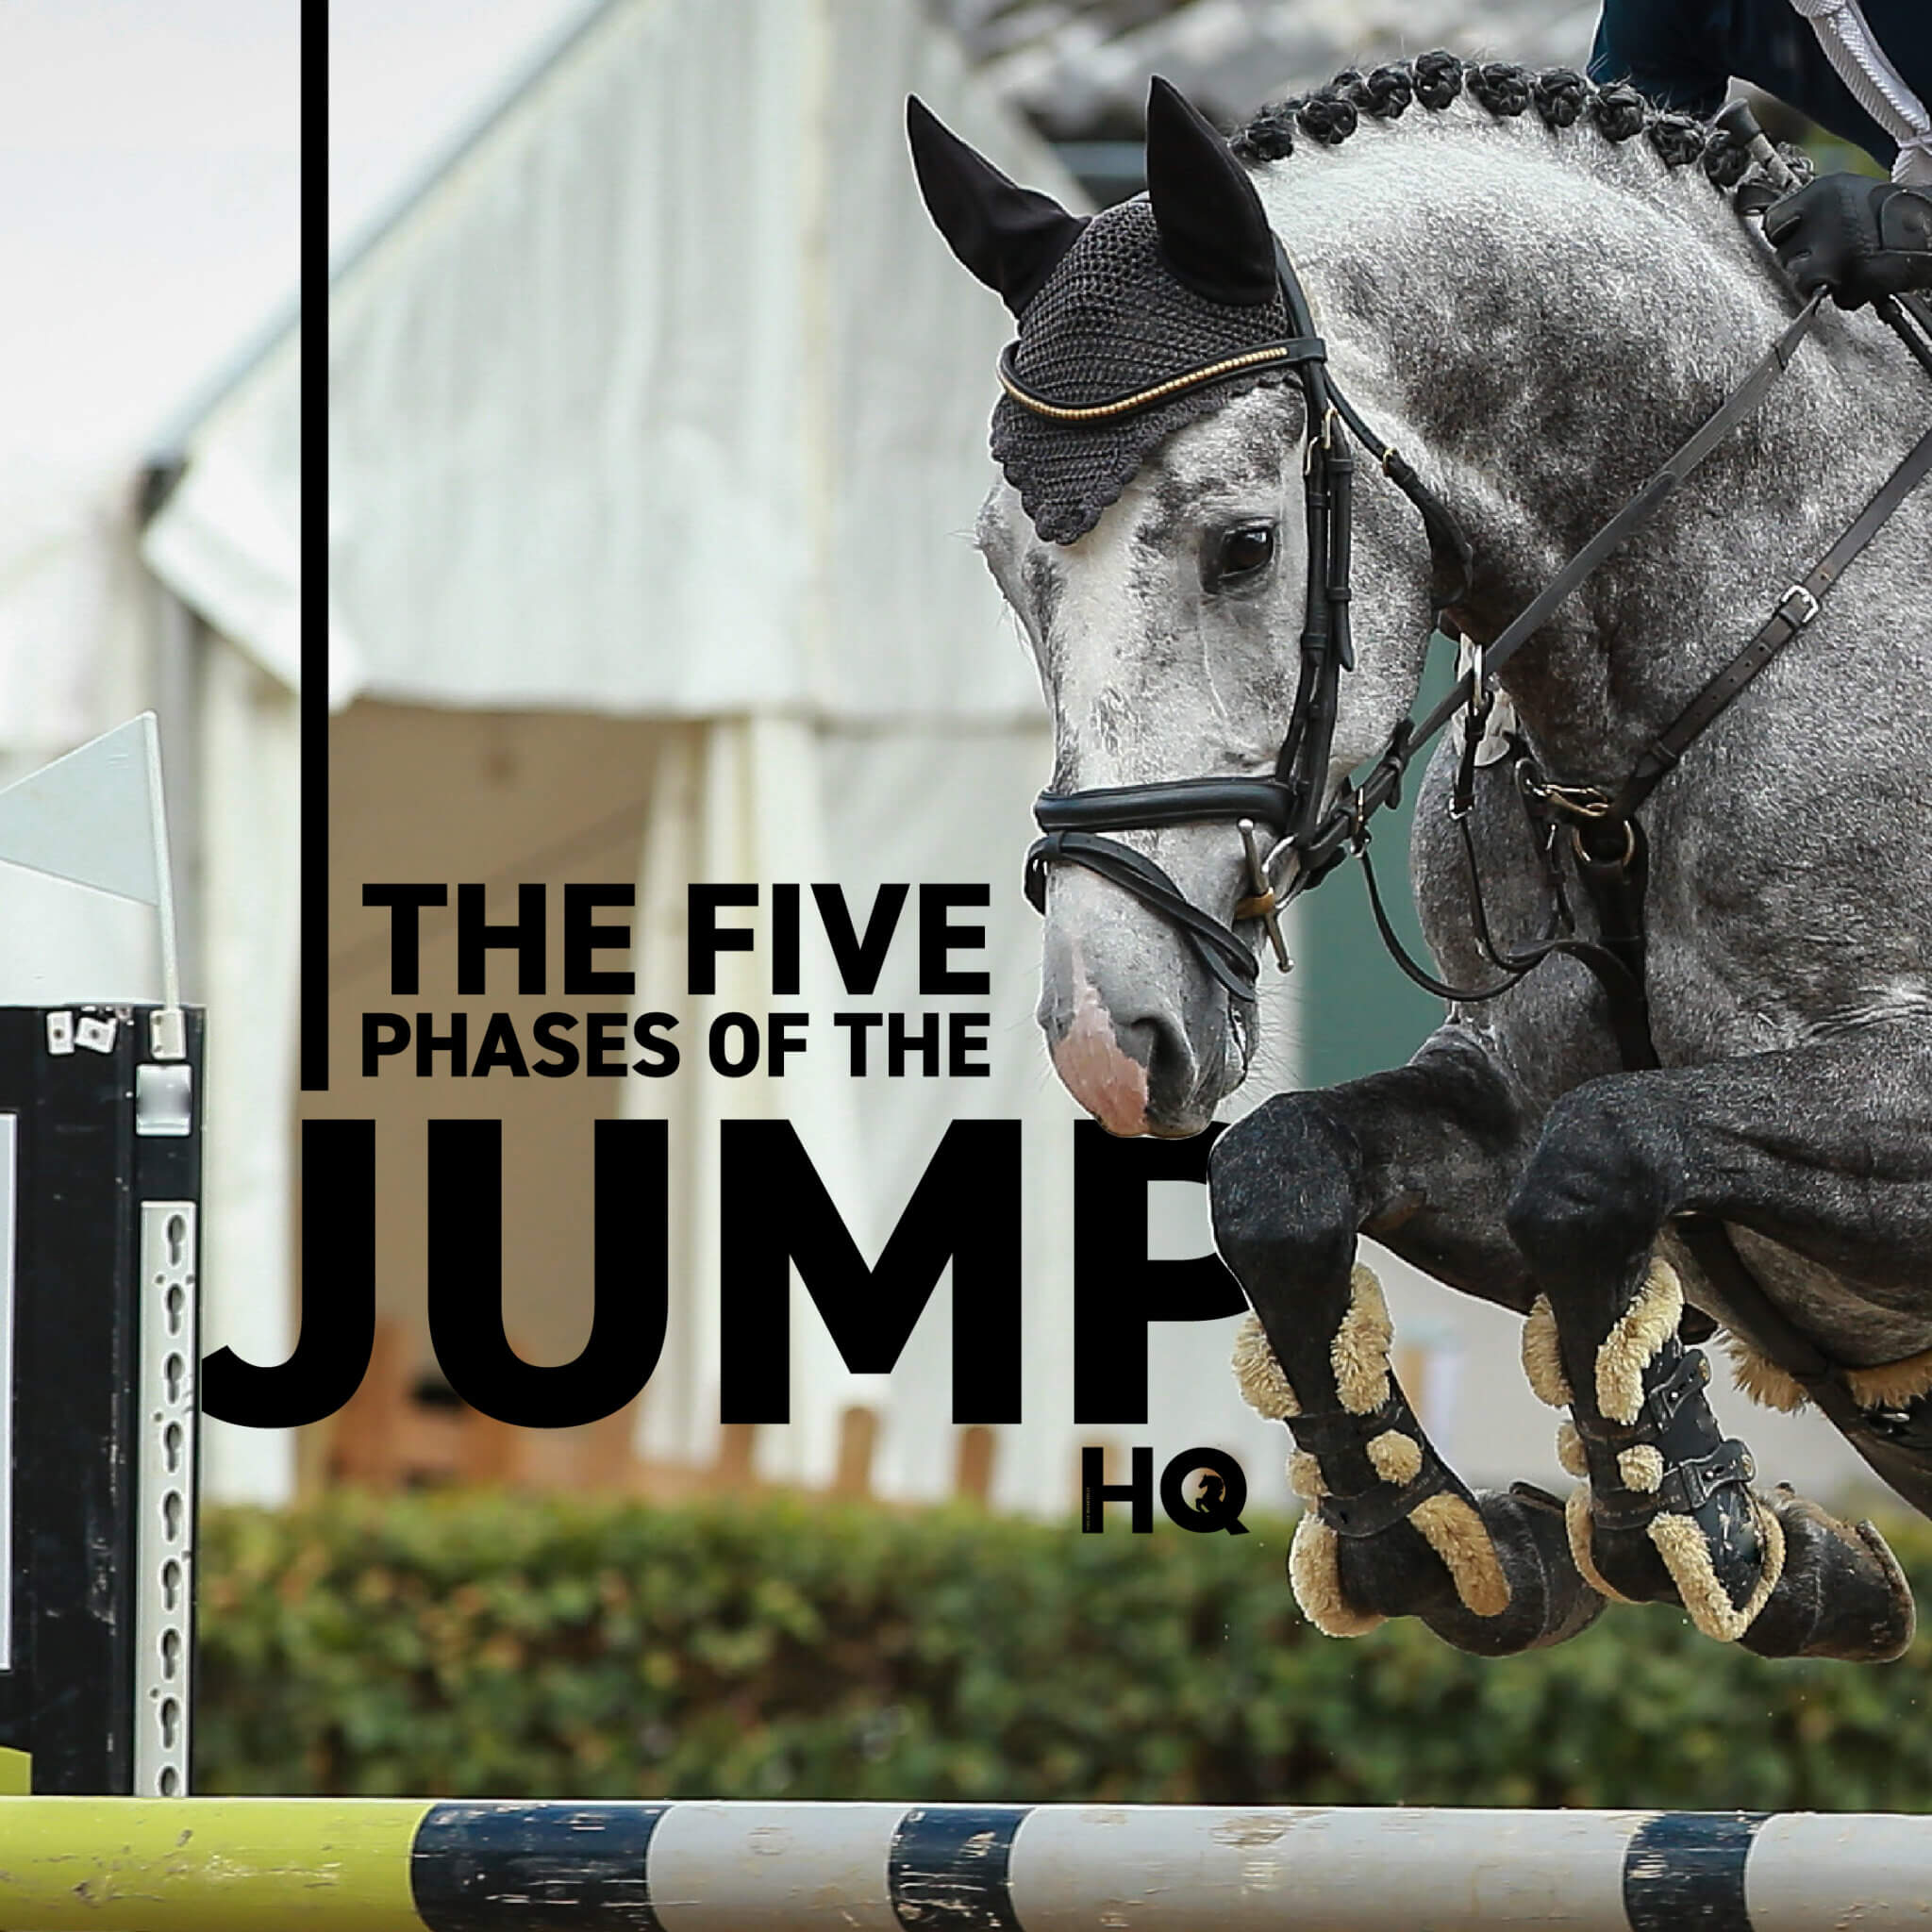
It’s no secret that it takes a lot of skill to successfully negotiate a fence. One thing that many riders find helpful in breaking down the task is understanding how the five phases of riding a jump each contribute to ‘getting to the other side’. These five phases include: the approach, takeoff, in the air, landing and getaway. Here we look at each phase in turn:
Phase 1: The approach
The first phase is arguably the most important. It is the phase where you make sure that you are on a straight line to the fence and that you have the appropriate speed and energy required for the jump. As such, the approach is made up of two sub-phases:
The line
In the early learning stages, course designers will set lines that are straightforward, normally giving riders enough time between jumps to recover the quality of the canter before encountering another fence. As the level of difficulty increases, the jumps come more quickly and the lines become more difficult to ride before you even present to a fence.
Choosing a line is really up to the rider; there are lines that are ‘possible’ to ride, lines that the horse will jump better from and lines that will save time. Every line should be chosen for a reason – ideally that it best suits horse and rider.
Once you have selected your line, you should maintain your light seat, and have your horse in balance and on the aids. Your horse’s head will lower slightly in this phase as this is how they see the jump and workout where they will need to take-off.
Gait and pace
For most jumps, the gait is the canter. Regardless of the line selected, the canter must be of the very best quality possible to give the horse the best chance of jumping the jump. The gait should be smooth and the goal of the rider should be to interrupt the horse’s way of going as little as possible; this means that sharp corners and obvious rebalances should be avoided.
Phase 2: The take-off
This is the phase where you horse will leave the ground by pushing off with their hind legs underneath them and tucking their front legs under their chest. This phase is often a source of much angst, but if the approach is good, then this part will be much easier.
In this phase you move into your jumping position, lifting out of the saddle slightly and bending at the hips, keeping your core strong with your hands on your horse’s neck so that you don’t pull on their mouth.
It will depend on your horse as to whether he chooses when to take-off, or you give the instruction and he follows; some horses are just better at making the decision than others.
As the take-off happens, you can convey the direction on landing. This should not be done too aggressively as it can interrupt the jump but your horse does need to understand the message.
Phase 3: In the air
This is the phase where you and your horse are in the air over the jump. At this point, you need to avoid distracting the horse. You need to stay in balance in your jumping position and interfere as little as possible. To stay in balance requires a good position, and any movement you make should be in keeping with what the horse has to do to get over the fence. The only exception to this, is that during this phase you can continue your communication about the direction of travel after the fence. This usually requires looking where you are headed next, offering the lead rein and putting pressure on the stirrup, to ‘step into’ the new direction.
Phase 4: The landing
This is perhaps the trickiest phase of all, as you need to regain your good gait, remain in balance, yet avoid interfering with your horse’s hind end as he clears the jump. The first stride after landing needs to be positive to ensure it’s not short or lacking in energy. Too much ‘drive’ throws the horse onto the forehand, but too little ‘drive’ affects the quality of the getaway.
During this phase you need to keep your core strong, to make sure that you don’t collapse on your horse’s neck.
Top tip
In training, poles can be useful to assist with managing the landing phase. Place a pole between 12 and 14 feet from the base of the landing side of the jump. Be careful not to put it too close, as that may encourage the horse to jump it. Place a second pole another 12 feet away. This will improve the quality of the first two strides of the getaway.
Phase 5: The getaway
Stride one after the fence should always be good because this provides a solid foundation for the rest of the getaway. Regaining a quality canter may take two or three strides to achieve, but the sooner you can reestablish it the better, as this becomes the approach to the next jump, where the phases of jumping start all over again.
Final thoughts
As these five phases demonstrate, there is a huge amount for both horse and rider to think about and do at each and every fence. For this process to run smoothly, practice is necessary.

