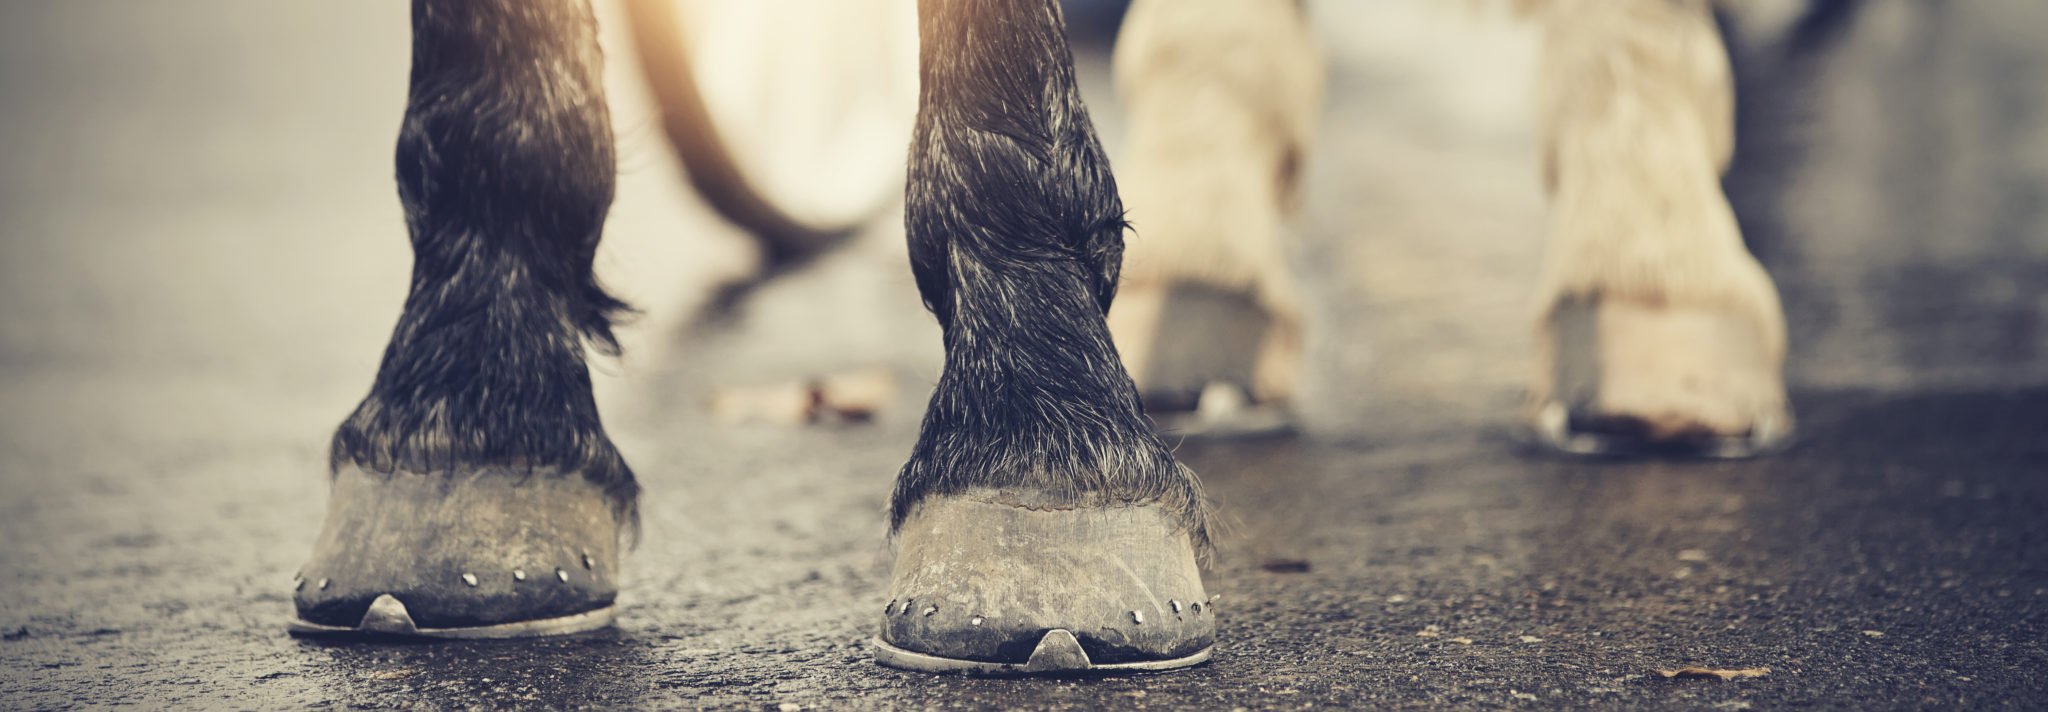
Q: My vet has asked for photographs of my horse’s feet, but she has asked me to retake them twice as they aren’t showing her what they need to? What am I doing wrong?
Asked by Shannon Barnes
Why photographs?
- A good set of photographs records the shape and condition of the feet at that particular point in time.
- Photographs allow you to study the form of the foot. This can help identify hoof imbalances and deformities.
- They can be used to monitor changes occurring in the feet, or to record the progress of corrective farrier work.
- They can be sent to other people to get further opinions about the state of the feet.
- If you are wanting to buy a horse who lives some distance from you, you can send photos of the feet to your vet and farrier so that they can give their opinions.
- Photographs can also be taken at the same time and from the same positions as x-rays so the two images can be compared. This can add valuable information.
What is important?
See the whole foot
It is important that you can see the entire foot. It is best to stand the horse on an area of flat concrete. Photographs taken of beautiful Thoroughbreds standing in grass should raise suspicion. Even standing a horse on dirt will hide the bottom edge of the foot and dirt is often not completely level.
Focus
Avoid taking photographs too close to the feet, and clear away any other objects in the picture that might draw the automatic focus of the camera away. It goes without saying that the foot must be in focus in the image.
Adequate lighting is required
It can be difficult to identify issues if the image is too dark, or if there are areas of light and shade. Using the camera’s flash can help to provide a bright and evenly lit image, but reflection can be a problem in these instances if the feet are wet. For everyone’s safety, try the flash away from the horse first to ensure that he is not going to be frightened by it.
Keep it clean
The hoof wall should be cleaned so that growth rings and tubule alignment can be assessed. Hair from the pastern and coronet (feathers) should be held or taped up out of the way so that the top of the hoof wall can be seen. The sole of the foot needs to be picked out and cleaned properly.
Height
Photographs taken from a standing or kneeling position may identify a deformity but unfortunately tell you little more than this. Photographs taken from ground level are far more informative. Photographs taken from ground level will allow you to see tubule alignment, deviation of the wall and any variation in the growth rings, which are more likely to indicate the cause of any deformity. It is not usually necessary for the photographer to lie down on the ground to line up the photograph. Taking the pictures with the camera placed on or close to the ground is usually satisfactory.
Positioning
Positioning of the camera relative to the foot will depend on whether or not there is a particular feature that your vet wants to see, but regardless of this, some photos should always be taken from ground level directly in front of the foot and directly from the side. Other views can also be useful when assessing form and balance of the foot. The medial view – taken of the inside of the hoof wall – can be taken and compared with the lateral view, though the opposite leg will probably need to be lifted. Another useful view is of the heels with the foot on the ground, but due to concerns about personal safety, this shot can be difficult to line up correctly.
Lift the foot
More photographs can be taken when the foot is lifted up. Firstly a view of the sole can be taken, which is at right angles to the bottom of the foot, to assess the ground surface of the foot. Also, a picture of the heels may be useful, taken at the back of the foot, to view the heel alignment and balance. Finally, a half-solar view can be useful, which is taken from the back of the foot with the sole at an angle to judge the in-turn of the heels and the curvature of the bars.
Measurements
If specific measurements are required by your vet, it can be helpful to attach visible markers to the foot. If an object of known length or scale is used, this can enable a true measurement of length and distance to be calculated.
Angles
Applying markers to the hairline of the coronary band at the top of the dorsal wall and at the bulb of the heel will make it easier to measure the front wall angle and heel to ground angles, and also the angle between the front wall and the line of the coronet. The most accurate angle measurement will be achieved if the camera is aligned at the level of and at right angles to the angle being measured, but this may be difficult to line up, and an image taken aimed at the centre of the foot is usually adequate.

